How to install, git clone, build and test
TweetPosted on Thursday Feb 20, 2014 at 06:01PM in Technology
Just try to make Jenkins work, and do some typical works (git clone, build, test) with Git and Maven.
Environment
- Jenkins 1.551
- Apache Maven 3.1.1
- git version 1.8.3.4 (Apple Git-47)
- Oracle JDK7u51
- OS X 10.9.1
Download and Install
- OS X Native package is available at [1].
- The package is a pkg file.
- Install is easy. we can just open the package and follow instructions.
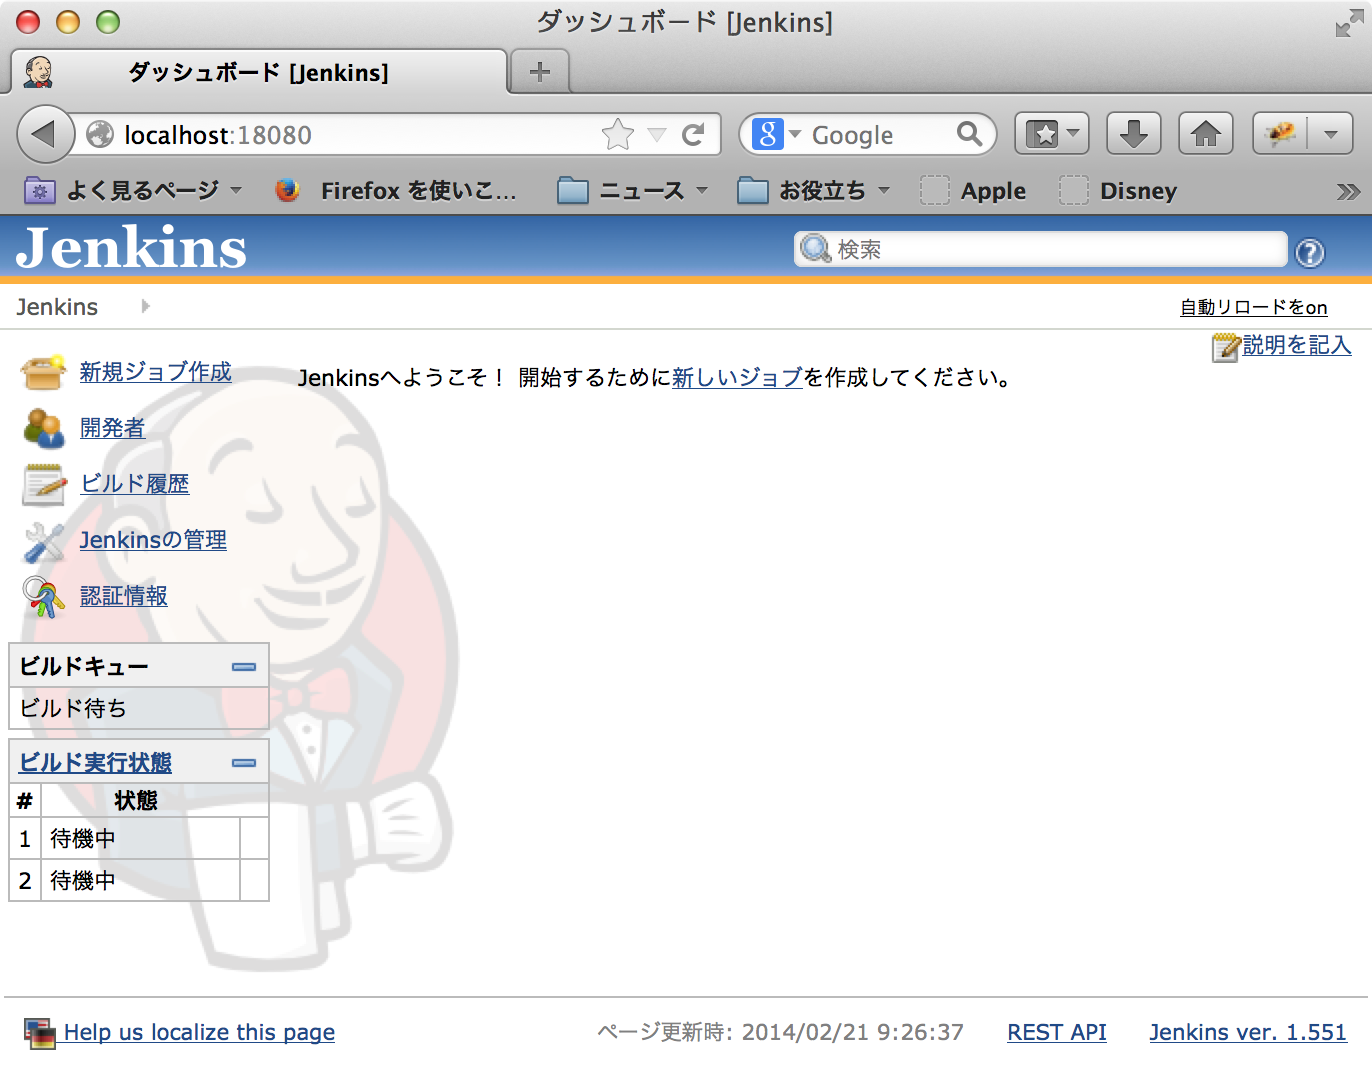
- When installation finishes, Jenkins will run automatically at port 8080 and browser will open and going to show localhost:8080, so we have to stop any application servers ran at port 8080 before we start installation.
- If you missed that point, Jenkins will run automatically after you have stop the application server.
- Followed this instruction, Jenkins will be installed as a service of OS X so it will be launched every time at system boot.

Configuration of platform specific matters
Change ports of Jenkins
- I have been used port 8080 for application server, so I don't want to give it to Jenkins.
- According to [3], this will make Jenkins to use other ports on OS X.
sudo defaults write /Library/Preferences/org.jenkins-ci httpPort 18080
sudo defaults write /Library/Preferences/org.jenkins-ci ajp13Port 18009
Avoid garbled characters for Multi-byte environment
- This is for Japanese OS X environment
- Add this line to “/Library/Application Support/Jenkins/jenkins-runner.sh”
export LANG=ja_JP.UTF-8
Use English as UI Language
- As default, Jenkins use browser's language for UI.
- Locale Plugin[7] allows to specify language.
- I prefer English at Jenkins so I have installed it.
- After plugin installed, go to Configure System
- Enter “ENGLISH” to Default Language
- Check “Ignore browser preference and force this language to all users”

- Click “Save” in the bottom of the page
Restart Jenkins
- To affect these changes, we have to restart Jenkins.
sudo launchctl stop org.jenkins-ci
sudo launchctl start org.jenkins-ci
- Now we got to run Jenkins at 18080 port.

Configuration
Make sure that “git” and “mvn” command are installed
kyle-no-MacBook:~ kyle$ which git
/usr/bin/git
kyle-no-MacBook:~ kyle$ git --version
git version 1.8.3.4 (Apple Git-47)
kyle-no-MacBook:~ kyle$ which mvn
/Users/kyle/apps/apache-maven-3.1.1/bin/mvn
kyle-no-MacBook:~ kyle$ mvn --version
Picked up _JAVA_OPTIONS: -Dfile.encoding=UTF-8
Apache Maven 3.1.1 (0728685237757ffbf44136acec0402957f723d9a; 2013-09-18 00:22:22+0900)
Maven home: /Users/kyle/apps/apache-maven-3.1.1
Java version: 1.7.0_51, vendor: Oracle Corporation
Java home: /Library/Java/JavaVirtualMachines/jdk1.7.0_51.jdk/Contents/Home/jre
Default locale: ja_JP, platform encoding: UTF-8
OS name: "mac os x", version: "10.9.1", arch: "x86_64", family: "mac"
kyle-no-MacBook:~ kyle$
Install the Git Plugin of Jenkins
- Open the Jenkins page.
- Click “Jenkinsの管理” (in Japanese messages)
- Click “プラグインの管理”
- Click “利用可能”
- Enter “git plugin” to filter field.
- Check “Git Plugin”

- Click “ダウンロードして再起動後にインストール”
- Installation progress page will be shown.
- It seems to a static page at first, but it updates on the progress for dynamically so just wait for a while.
- It takes several minutes for complete.
- Confirm all processes are completed

- Restart the Jenkins.
Set JAVA_HOME
- Output of this command would be help for OS X users.
kyle-no-MacBook:~ kyle$ /usr/libexec/java_home -V
Matching Java Virtual Machines (3):
    1.7.0_51, x86_64:   "Java SE 7" /Library/Java/JavaVirtualMachines/jdk1.7.0_51.jdk/Contents/Home
    1.6.0_65-b14-462, x86_64:   "Java SE 6" /System/Library/Java/JavaVirtualMachines/1.6.0.jdk/Contents/Home
    1.6.0_65-b14-462, i386: "Java SE 6" /System/Library/Java/JavaVirtualMachines/1.6.0.jdk/Contents/Home

/Library/Java/JavaVirtualMachines/jdk1.7.0_51.jdk/Contents/Home
kyle-no-MacBook:~ kyle$
- Click “Jenkinsの管理”
- Click “システムの設定”
- Find JDK section.
- Click “JDK追加”
- Uncheck “自動インストール”
- Enter “名前”
- Enter “JAVA_HOME”

- Click “保存” at the bottom of the page.
Set Path to Maven executable
- Click “Jenkinsの管理”
- Click “システムの設定”
- Find Maven section.
- Click “Maven追加”
- Uncheck “自動インストール”
- Enter MAVEN_HOME

- Click “保存” at the bottom of the page.
Make a job
- At first, we assume that a example maven project is committed to a local repository. it is better if the project contains some JUnit test classes. I have created a project which contains a servlet, a CDI managed bean and a test class for it.
- This job will do:
- Retrieve the source tree of a maven project from the Git repository in local filesystem
- Build a WAR file
- Run JUnit test
Procedures:
- Click “新規ジョブ作成”
- Enter “MyJob001” to “ジョブ名”
- Check “Maven2/3プロジェクトのビルド”
- Click “OK”
- Find “ソースコード管理” section.
- Check “Git”
- Enter “Repository URL”

- Find “ビルド” Section
- Enter “ルートPOM'
- Enter “ゴールとオプション”

- Find “ビルド後の処理” Section
- Click “ビルド後の処理の追加”
- Click “成果物を保存”
- Enter “保存するファイル”

- Click “保存”
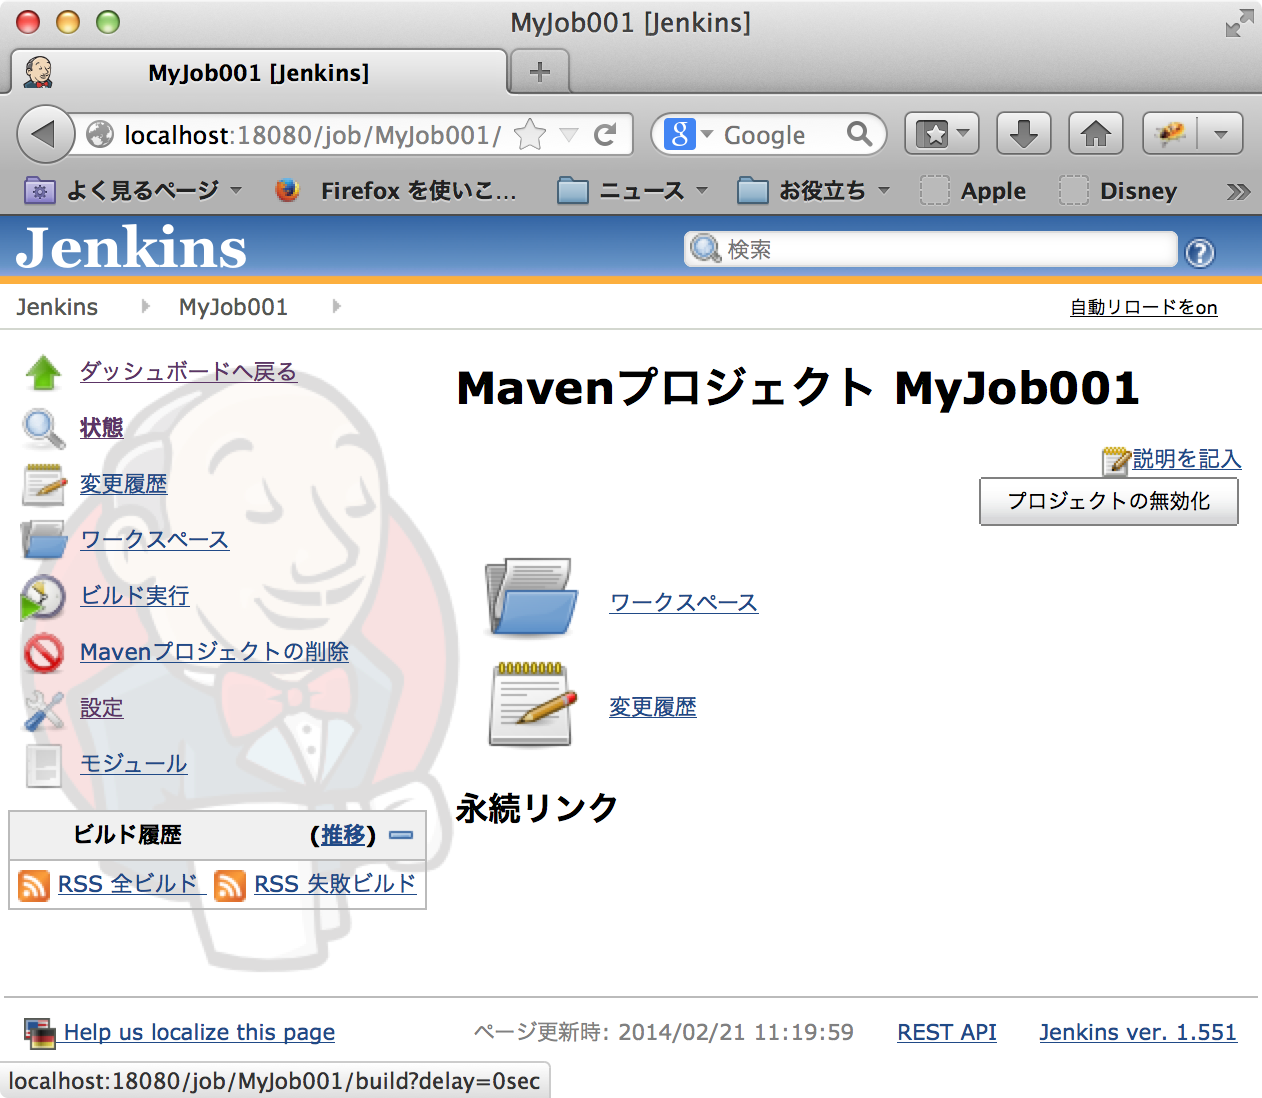
- Now I got a job “MyJob001”

Build
- Open the job “MyJob001”
- Click “ビルド実行”
- Wait for a while.
- It takes really long time for the first time because there are many new dependencies. maybe we should check the console output of Jenkins.
- Some minutes later, we got to see fine mark in the dashboard.

- Detail page is interesting, we can see that all tests are passed and deliverables at once.

- Check the WAR file which have built by Jenkins.
kyle-no-MacBook:hellojenkins kyle$ unzip -l /Users/Shared/Jenkins/Home/jobs/MyJob001/lastSuccessful/org.nailedtothex\$hellojenkins/archive/org.nailedtothex/hellojenkins/0.0.1-SNAPSHOT/hellojenkins-0.0.1-SNAPSHOT.war
Archive:  /Users/Shared/Jenkins/Home/jobs/MyJob001/lastSuccessful/org.nailedtothex$hellojenkins/archive/org.nailedtothex/hellojenkins/0.0.1-SNAPSHOT/hellojenkins-0.0.1-SNAPSHOT.war
  Length     Date   Time    Name
 --------    ----   ----    ----
        0  02-21-14 11:24   META-INF/
      132  02-21-14 11:24   META-INF/MANIFEST.MF
        0  02-21-14 11:24   WEB-INF/
        0  02-21-14 11:24   WEB-INF/classes/
        0  02-21-14 11:24   WEB-INF/classes/hellojenkins/
      477  02-21-14 11:24   WEB-INF/classes/hellojenkins/HelloBean.class
     1169  02-21-14 11:24   WEB-INF/classes/hellojenkins/HelloServlet.class
        0  02-21-14 11:24   META-INF/maven/
        0  02-21-14 11:24   META-INF/maven/org.nailedtothex/
        0  02-21-14 11:24   META-INF/maven/org.nailedtothex/hellojenkins/
     1053  02-21-14 11:21   META-INF/maven/org.nailedtothex/hellojenkins/pom.xml
      122  02-21-14 11:24   META-INF/maven/org.nailedtothex/hellojenkins/pom.properties
 --------                   -------
     2953                   12 files
kyle-no-MacBook:hellojenkins kyle$
Remarks
- I would also try that other operations such as automated execution or deploy later.
References
- Welcome to Jenkins CI! | Jenkins CI
- Jenkins を Mac で使う | Hazi.tech
- Jenkins Mac OS X InstallerでJenkinsを入れる - IwazerReport
- Jenkins の git plugin と git-client plugin の相性に注意 - diary.sorah
- Git Plugin の導入に躓いた - おこらない日記
- githubとAndroidとJenkinsの素敵な関係 | GeNERACE labo
- Locale Plugin - Jenkins - Jenkins Wiki
- The Locale plugin - Howto
Tags: jenkins