top - 21:06:05 up 118 days, 19:07,  1 user,  load average: 0.01, 0.02, 0.00
Tasks: 123 total,   1 running, 122 sleeping,   0 stopped,   0 zombie
Cpu(s):  0.5%us,  0.2%sy,  0.0%ni, 99.3%id,  0.0%wa,  0.0%hi,  0.0%si,  0.0%st
Mem:   1020224k total,   947560k used,    72664k free,     5692k buffers
Swap:  2097144k total,   500732k used,  1596412k free,    65308k cached

  PID USER      PR  NI  VIRT  RES  SHR S %CPU %MEM    TIME+  SWAP COMMAND
29457 wildfly   20   0 3183m 438m 6152 S  0.3 44.0  41:27.36 355m java
19826 james     20   0 2725m 281m 6788 S  1.0 28.3  28:28.08  39m java
...
Entries tagged [linux]
Memory usage tuning of Java8 on Linux
TweetPosted on Thursday Feb 19, 2015 at 06:20PM in Technology
I have a WildFly and a Apache James server instance on Linux based VPS which have 1GB RAM. these days they allocates large swap area while they only used fewer than 1GB for actual memory consumption. performance is not bad for just serving without any administrative operations, but some operation tend to slow due to large swap size so I configured some to reduce swap size.
Environment
-
CentOS 6.5
-
Oracle JDK8u31
Before
Configure JVM params
Set following JVM params to James:
-XX:ReservedCodeCacheSize=100m
-XX:MaxMetaspaceSize=128m
-XX:CompressedClassSpaceSize=128m
Set following to wildfly as well:
-XX:ReservedCodeCacheSize=100m
-XX:MaxMetaspaceSize=256m
-XX:CompressedClassSpaceSize=128m
After
These parameters reduced swap size as follows:
top - 19:33:09 up 119 days, 17:34,  3 users,  load average: 0.41, 0.24, 0.10
Tasks: 130 total,   1 running, 129 sleeping,   0 stopped,   0 zombie
Cpu(s):  0.3%us,  0.3%sy,  0.0%ni, 99.3%id,  0.0%wa,  0.0%hi,  0.0%si,  0.0%st
Mem:   1020224k total,   924232k used,    95992k free,     8400k buffers
Swap:  2097144k total,   407972k used,  1689172k free,    90320k cached

  PID USER      PR  NI  VIRT  RES  SHR S %CPU %MEM    TIME+  SWAP COMMAND
30181 wildfly   20   0 2141m 405m 6308 S  0.0 40.7   5:11.08 272m java
29949 james     20   0 1677m 249m 6720 S  0.7 25.0   5:52.41  46m java
UPDATE: Now swap size grown as almost before adding configuration so sadly now I’m not sure whether it works or not.
Setting swappiness
vm.swappiness defines how often the swap file is used. setting lower value means lower swap size but it doesn’t simply mean better performance. you can adjust it via executing following command to apply instantly:
sudo sysctl vm.swappiness=1
Add following definition to /etc/sysctl.conf to set it as persistent one:
vm.swappiness = 1
Following discussions may be useful:
Installing James as a service of CentOS
TweetPosted on Thursday Feb 05, 2015 at 05:16PM in Technology
In previous posting, I set up James as a plain standalone application on OS X. this time I’m going to install James as a service on CentOS 6.6, and expose its SMTP, POP3 and IMAP ports to external network.
Create a user for James
The java process of James will run james user which added in this step.
sudo useradd james
Extract tarball
I’ll use james-server-app-3.0.0-beta5-SNAPSHOT-app.tar.gz which built in previous posting.
sudo tar zxvf james-server-app-3.0.0-beta5-SNAPSHOT-app.tar.gz -C /usr/local --no-same-owner
sudo chown -R james:james /usr/local/james-server-app-3.0.0-beta5-SNAPSHOT
sudo ln -s /usr/local/james-server-app-3.0.0-beta5-SNAPSHOT /usr/local/james
Change ports that James will listen
Add offset of 10000 to bind element in smtpserver.xml, pop3server.xml and imapserver.xml respectively as I did in previous posting.
Reduce heap size
Default maximum heap size of James is 512MB but it’s too large for me because I have only small amount of memory on the server so I reduced it to more smaller. this can be done with modifying the file $JAMES_HOME/conf/wrapper.conf as follows:
wrapper.java.maxmemory=256
Define user to startup script
In $JAMES_HOME/bin/james there’s a variable which defines the user to run the process of James. so set it to james as follows:
RUN_AS_USER=james
Register the startup script
sudo ln -s /usr/local/james/bin/james /etc/init.d
sudo chkconfig --add james
sudo chkconfig james on
Now we can control James with service command as follows:
sudo service james start
sudo service james stop
Also James will be launched / shutdown automatically at every boot/shutdown process of CentOS.
NOTE on some environment, following error may occur.
$ sudo service james start
Starting Apache James :: Server :: App...
/usr/local/james-server-app-3.0.0-beta5-SNAPSHOT/bin/james: /usr/local/james-server-app-3.0.0-beta5-SNAPSHOT/bin/./wrapper-linux-x86-32: /lib/ld-linux.so.2: bad ELF interpreter: No such file or directory
$
According to this discussion, it related to the environment which used in build. then the problem should be fixed with issuing following command:
sudo yum install glibc.i686
Configure port forwarding
This makes SMTP, POP3 and IMAP ports to be forwarded to ports of James listening. this enables us to launch James process as a regular user owning process, not root process. here’s an example of /etc/sysconfig/iptables:
*nat
:PREROUTING ACCEPT [0:0]
:OUTPUT ACCEPT [0:0]
:POSTROUTING ACCEPT [0:0]
-A PREROUTING -i eth0 -p tcp --dport 25 -j DNAT --to-destination :10025
-A PREROUTING -i eth0 -p tcp --dport 110 -j DNAT --to-destination :10110
-A PREROUTING -i eth0 -p tcp --dport 143 -j DNAT --to-destination :10143
COMMIT
*filter
:INPUT DROP [0:0]
:FORWARD DROP [0:0]
:OUTPUT ACCEPT [0:0]
-A INPUT -m state --state ESTABLISHED,RELATED -j ACCEPT
-A INPUT -i lo -j ACCEPT
-A INPUT -m state --state NEW -m tcp -p tcp --dport 22 -j ACCEPT
-A INPUT -m state --state NEW -m tcp -p tcp --dport 10025 -j ACCEPT
-A INPUT -m state --state NEW -m tcp -p tcp --dport 10110 -j ACCEPT
-A INPUT -m state --state NEW -m tcp -p tcp --dport 10143 -j ACCEPT
COMMIT
After update the /etc/sysconfig/iptables file, restart the iptables serivce as follows:
sudo service iptables restart
Remaining tasks such as registering shutdown hook of Derby, creating domains, users…
NOTE: You should make James to use secured connection
Currently all of communication between the server and client is clear text so any data including credentials can be sniffed. I would try to configure James to use secured connection in another post later.
Installing CentOS 6.5 into VMware Fusion 6.0.2
TweetPosted on Monday Jan 12, 2015 at 11:45PM in Technology
What are the good points of virtual machines?
I'm working to move my personal financial system which is running on a physical machine to virtual machine because its simplicity of maintenance and portability. currently I'm running the system on tower form PC, but it makes annoying noise, and it consumes power much, so I'm going to make the system virtual, and move it to my old MacBook or something.
Backup of virtual machines are so easy because it exists as regular files in the physical machine, and it can be automated easily thanks to OS X's TimeMachine and VMware Fusion's snapshot. and I can easily move its machine running on in case I need to do it. when I want to do some heavy calculation, I can easily copy the whole of the virtual machine to another high-performance environment anytime while running it on low power-consuming machine regularly.
Installation
VMware Fusion 6.0.2 supplies "easy installation" function for CentOS 6.5 (not for 7.0). which answers annoying questions instead of me during installation process. all I need to answer were username and password to use. then, VMware will getting almost all of my work done contains installation of VMware Tools. several minutes after, you'll see GUI login prompt. for my purpose GUI is unnecessary but I don't want to do these annoying work by myself so I just followed this way.
I made some changes before installation begins such as following:
- Increase HDD size to 384GB (There's no need to reserve that actual size in the host machine. actual size increases with actual use in the virtual machine. Increasing of size is impossible when snapshots available, but it's possible after deleting all of snapshots)
- Increase CPU number to 2
- Increate amount of memory to 2GB
- Set network interface to physical (I want to login via ssh from my LAN)
- Enable VNC daemon
Partitioning that VMware did automatically:
[kyle@localhost ~]$ df -h
Filesystem      Size  Used Avail Use% Mounted on
/dev/sda3       374G  2.6G  353G   1% /
tmpfs           935M  228K  935M   1% /dev/shm
/dev/sda1       291M   39M  238M  14% /boot
After installation TODOs:
- Software update (System -> Administration -> Software Update)
- Add user to sudoers
su -
visudo
then insert following:kyle ALL=(ALL) NOPASSWD: ALL
- Change timezone to sync the clock
sudo cp -p /usr/share/zoneinfo/Japan /etc/localtime
- Put your ssh public key to ~/.ssh/authorized_keys (make sure to set the permission of .ssh directory to 700, authorized_keys file to 600. if permission wasn't set correctly, password prompt will be appeared)
I would write more about following procedure such as installation of middleware or database.
ApacheとWildFlyをmod_jkで繋ぐ
TweetPosted on Tuesday Jan 21, 2014 at 07:34AM in Technology
環境
- さくらインターネット VPS 1G
- CentOS 6.5
- WildFly 8.0.0CR1
- Apache 2.2.24
- tomcat-connectors-1.2.37-src.tar.gz
- ここに書いた作業をした後
何をするの?
ApacheとWildFlyをmod_jkで繋ぎます
mod_jkを入れる
ビルドとインストール
yumとかでインストール出来れば楽なのですが、見当たらなかったのでここからソースを取ってきます
sudo yum install httpd-devel
tar zxvf tomcat-connectors-1.2.37-src.tar.gz
cd tomcat-connectors-1.2.37-src/native
./configure --with-apxs=/usr/sbin/apxs
make -j 2
sudo make install
設定ファイルの雛型をコピー
sudo cp tomcat-connectors-1.2.37-src/conf/httpd-jk.conf /etc/httpd/conf.d
sudo cp tomcat-connectors-1.2.37-src/conf/workers.properties.minimal /etc/httpd/conf/workers.properties
sudo service httpd restart
動作確認
jk-status画面を表示したいのですが、localhostからのアクセスしか許可してないので、sshのトンネル経由でアクセスしてみる。手元の端末で以下を実行
ssh [SERVER ADDRESS] -L 10080:localhost:80
その後ブラウザでここを開いてみると

まだWildFly側で受け入れの設定はしてないけど一応動いてますね
WildFly側の設定
CLIの管理コンソールを起動する
sudo -u wildfly /usr/local/wildfly/bin/jboss-cli.sh
設定コマンドを打ち込む
connect
/subsystem=undertow/server=default-server/ajp-listener=myListener:add(socket-binding=ajp, scheme=http, enabled=true)
exit
こういう感じになればOK
$ sudo -u wildfly /usr/local/wildfly/bin/jboss-cli.sh
You are disconnected at the moment. Type 'connect' to connect to the server or 'help' for the list of supported commands.
[disconnected /] connect
[standalone@localhost:9990 /] /subsystem=undertow/server=default-server/ajp-listener=myListener:add(socket-binding=ajp, scheme=http, enabled=true)
{"outcome" => "success"}
[standalone@localhost:9990 /]
telnetで覗いてみる
ちゃんとポートが開いているようです
$ telnet localhost 8009
Trying 127.0.0.1...
Connected to localhost.
Escape character is '^]'.
^]

telnet> quit
Connection closed.
$
Apache側の設定
ここではとりあえず何も考えず全部WildFlyに飛ばすことにします
sudo sh -c 'cat > /etc/httpd/conf.d/jk.conf' <<EOF
<IfModule jk_module>
    JkMount /* lb
</IfModule>
EOF
sudo service httpd restart
]]>
終わったらグローバルIPアドレス経由でアクセスしてみましょう。
単純な設定しかしてませんがとりあえず繋がったようですね。管理コンソールは9990番ポート経由でないとアクセス出来ないので、リモートから80番経由で管理コンソールを触られる心配はないようです。
参考文献
Tags: linux
さくらVPSにJRE, WildFly, PostgreSQL, Apacheを入れる
TweetPosted on Tuesday Jan 21, 2014 at 07:24AM in Technology
環境
- さくらインターネット VPS 1G
- CentOS 6.5
- ここに書いた作業をした後
何をするの?
- JRE (jre-7u51-linux-x64.rpm) を入れる
- WildFly (wildfly-8.0.0.CR1.tar.gz) を入れる
- PostgreSQL 9.2.6を入れる
- Apacheを入れる
JREを入れる
いまのところこのへんにあります。私はjre-7u51-linux-x64.rpmを取ってきました。
<![CDATA[
sudo rpm -ivh jre-7u51-linux-x64.rpm
]]>
動作確認
$ java -version
java version "1.7.0_51"
Java(TM) SE Runtime Environment (build 1.7.0_51-b13)
Java HotSpot(TM) 64-Bit Server VM (build 24.51-b03, mixed mode)
$
WildFlyを入れる
ユーザを作ります
sudo useradd wildfly
tarballを展開します
sudo tar zxvf wildfly-8.0.0.CR1.tar.gz -C /usr/local --no-same-owner
sudo chown -R wildfly:wildfly /usr/local/wildfly-8.0.0.CR1
sudo ln -s /usr/local/wildfly-8.0.0.CR1 /usr/local/wildfly
設定ファイルを作ります
sudo mkdir /etc/java
sudo sh -c 'cat > /etc/java/java.conf' <<EOF
export JAVA_HOME=/usr/java/default
EOF
sudo sh -c 'cat > /etc/default/wildfly.conf' <<EOF
export JBOSS_HOME=/usr/local/wildfly
export JBOSS_USER=wildfly
export LANG=ja_JP.UTF-8
EOF
ログとpid出力用のディレクトリを作ります
sudo mkdir /var/run/wildfly
sudo mkdir /var/log/wildfly
起動スクリプトを置きます
sudo cp /usr/local/wildfly-8.0.0.CR1/bin/init.d/wildfly-init-redhat.sh /etc/init.d/wildfly
sudo chkconfig --add wildfly
sudo chkconfig wildfly on
起動してみます
$ sudo service wildfly start
Starting wildfly:                                          [  OK  ]
$
ログとpidファイルを確認してみます
$ ls -l /var/log/wildfly
合計 8
-rw-r--r-- 1 root root 4670  1月 19 11:54 2014 console.log
$ ls -l /var/run/wildfly
合計 4
-rw-r--r-- 1 wildfly wildfly 6  1月 19 11:54 2014 wildfly.pid
$
ログを見てみます
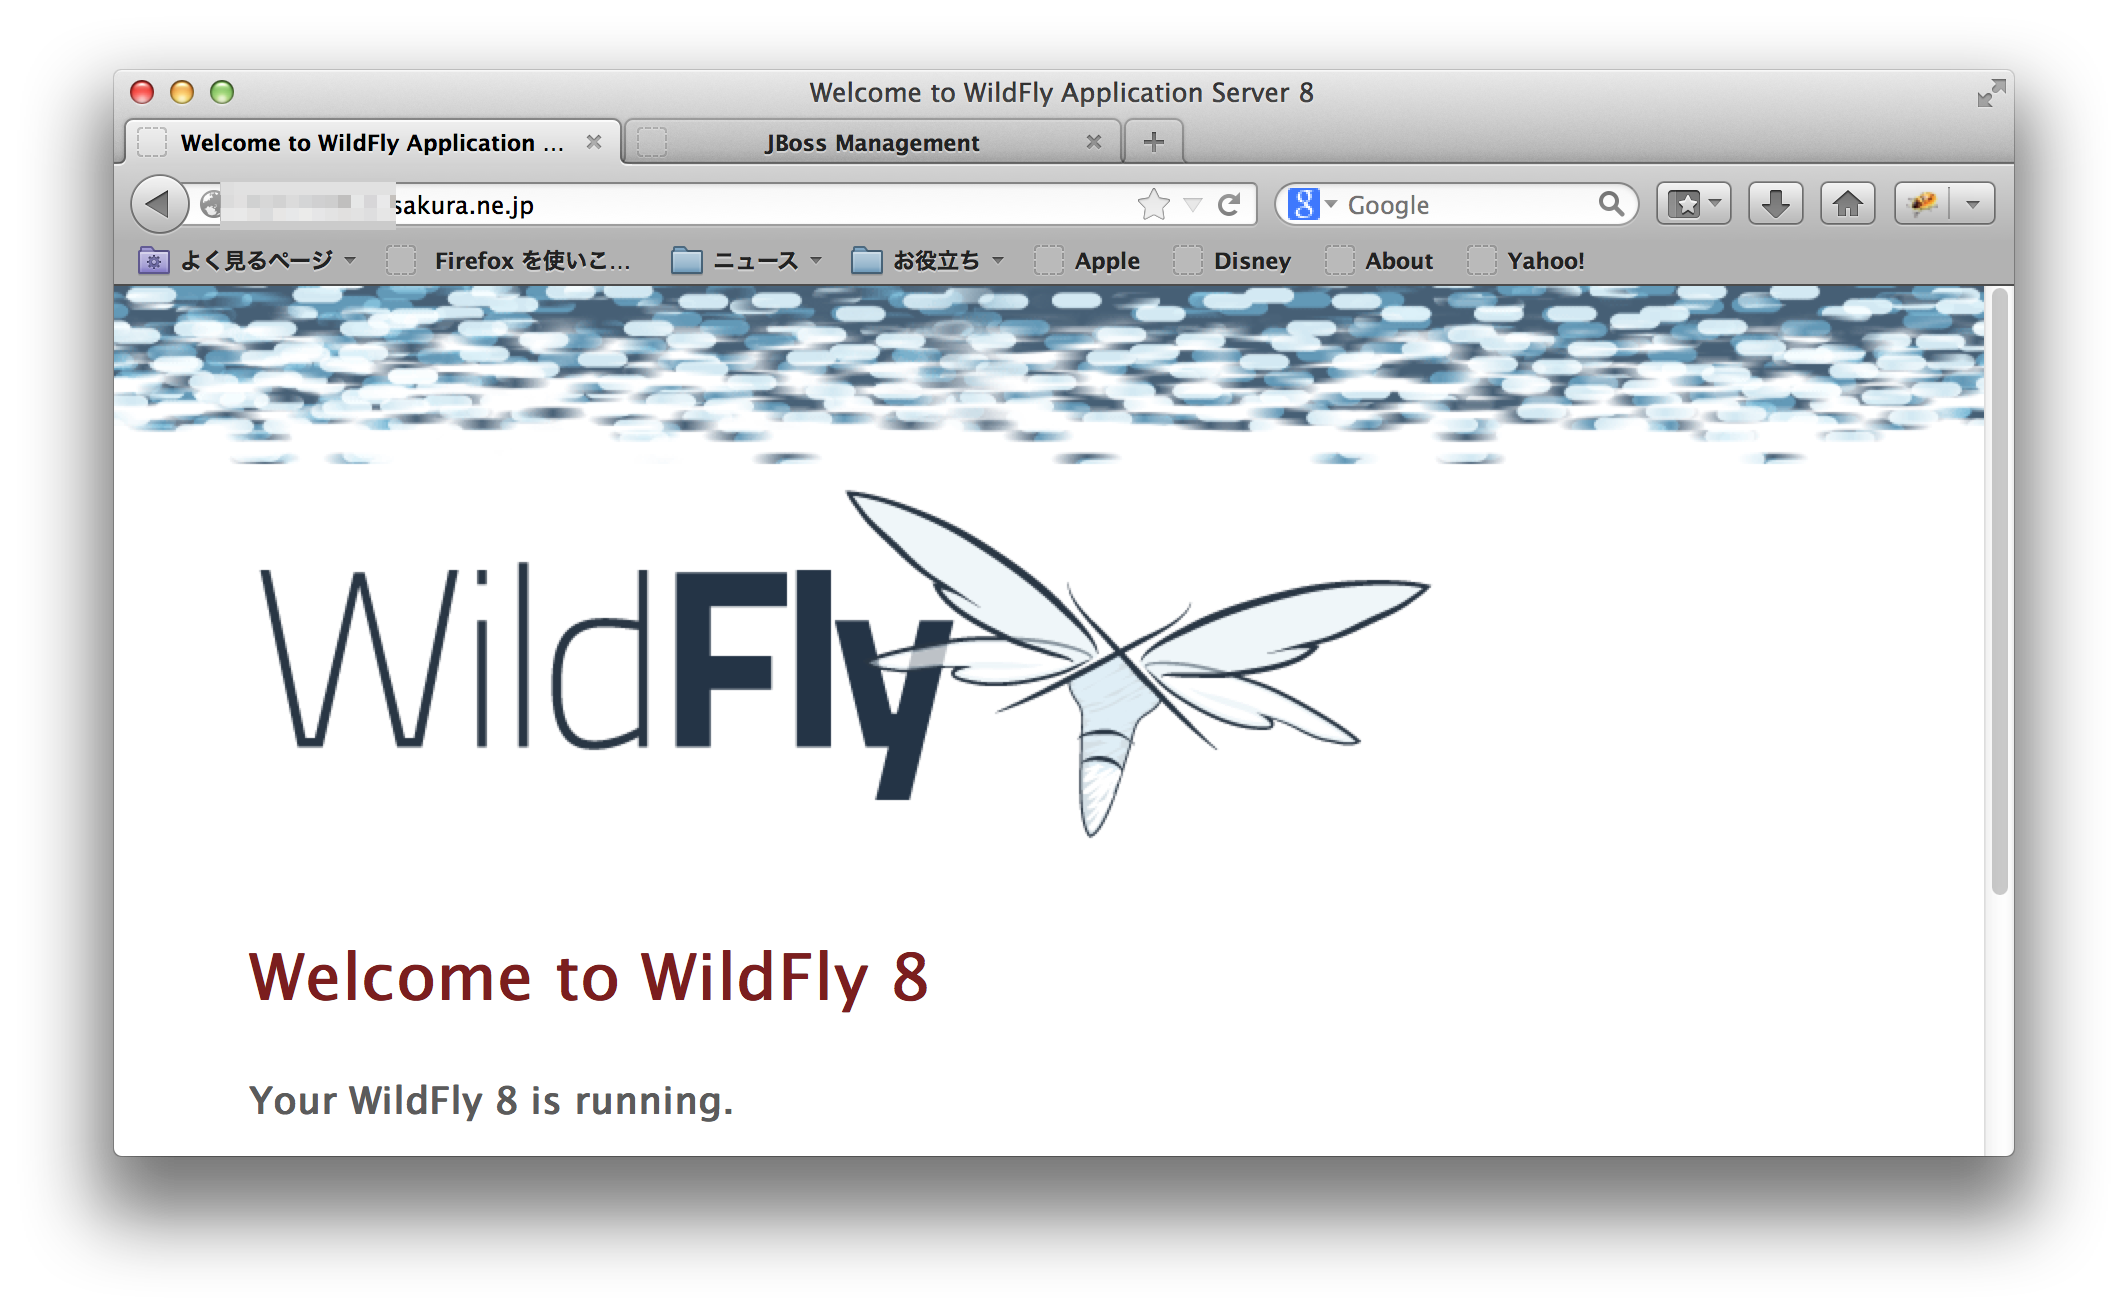
=========================================================================

  JBoss Bootstrap Environment

  JBOSS_HOME: /usr/local/wildfly

  JAVA: /usr/java/default/bin/java

  JAVA_OPTS:  -server -XX:+UseCompressedOops -Xms64m -Xmx512m -XX:MaxPermSize=256m -Djava.net.preferIPv4Stack=true -Djboss.modules.system.pkgs=org.jboss.byteman -Djava.awt.headless=true

=========================================================================

11:48:59,714 INFO  [org.jboss.modules] (main) JBoss Modules version 1.3.0.Final
11:49:05,184 INFO  [org.jboss.msc] (main) JBoss MSC version 1.2.0.CR1
11:49:05,351 INFO  [org.jboss.as] (MSC service thread 1-2) JBAS015899: WildFly 8.0.0.CR1 "WildFly" starting
11:49:07,201 INFO  [org.xnio] (MSC service thread 1-1) XNIO version 3.2.0.Beta4
11:49:07,208 INFO  [org.jboss.as.server] (Controller Boot Thread) JBAS015888: Creating http management service using socket-binding (management-http)
11:49:07,216 INFO  [org.xnio.nio] (MSC service thread 1-1) XNIO NIO Implementation Version 3.2.0.Beta4
11:49:07,278 INFO  [org.jboss.remoting] (MSC service thread 1-1) JBoss Remoting version (unknown)
11:49:07,302 INFO  [org.jboss.as.clustering.infinispan] (ServerService Thread Pool -- 33) JBAS010280: Activating Infinispan subsystem.
11:49:07,314 INFO  [org.jboss.as.naming] (ServerService Thread Pool -- 41) JBAS011800: Activating Naming Subsystem
11:49:07,325 INFO  [org.jboss.as.webservices] (ServerService Thread Pool -- 50) JBAS015537: Activating WebServices Extension
11:49:07,317 INFO  [org.jboss.as.security] (ServerService Thread Pool -- 46) JBAS013171: Activating Security Subsystem
11:49:07,376 INFO  [org.jboss.as.security] (MSC service thread 1-2) JBAS013170: Current PicketBox version=4.0.20.Beta2
11:49:07,395 INFO  [org.jboss.as.jsf] (ServerService Thread Pool -- 39) JBAS012615: Activated the following JSF Implementations: [main]
11:49:07,616 INFO  [org.wildfly.extension.undertow] (ServerService Thread Pool -- 49) JBAS017502: Undertow 1.0.0.Beta30 starting
11:49:07,665 INFO  [org.jboss.as.naming] (MSC service thread 1-2) JBAS011802: Starting Naming Service
11:49:07,646 INFO  [org.wildfly.extension.undertow] (MSC service thread 1-1) JBAS017502: Undertow 1.0.0.Beta30 starting
11:49:07,715 INFO  [org.jboss.as.mail.extension] (MSC service thread 1-4) JBAS015400: Bound mail session [java:jboss/mail/Default]
11:49:07,716 INFO  [org.jboss.as.connector.logging] (MSC service thread 1-4) JBAS010408: Starting JCA Subsystem (IronJacamar 1.1.2.Final)
11:49:07,725 INFO  [org.jboss.as.connector.subsystems.datasources] (ServerService Thread Pool -- 28) JBAS010403: Deploying JDBC-compliant driver class org.h2.Driver (version 1.3)
11:49:07,775 INFO  [org.jboss.as.connector.deployers.jdbc] (MSC service thread 1-1) JBAS010417: Started Driver service with driver-name = h2
11:49:07,947 INFO  [org.wildfly.extension.undertow] (ServerService Thread Pool -- 49) JBAS017527: Creating file handler for path /usr/local/wildfly/welcome-content
11:49:07,978 INFO  [org.wildfly.extension.undertow] (MSC service thread 1-3) JBAS017525: Started server default-server.
11:49:08,004 INFO  [org.wildfly.extension.undertow] (MSC service thread 1-2) JBAS017531: Host default-host starting
11:49:08,497 INFO  [org.wildfly.extension.undertow] (MSC service thread 1-4) JBAS017519: Undertow HTTP listener default listening on /127.0.0.1:8080
11:49:09,116 INFO  [org.jboss.as.remoting] (MSC service thread 1-2) JBAS017100: Listening on 127.0.0.1:9999
11:49:09,147 INFO  [org.jboss.as.server.deployment.scanner] (MSC service thread 1-1) JBAS015012: Started FileSystemDeploymentService for directory /usr/local/wildfly/standalone/deployments
11:49:09,248 INFO  [org.jboss.ws.common.management] (MSC service thread 1-3) JBWS022052: Starting JBoss Web Services - Stack CXF Server 4.2.3.Final
11:49:09,310 INFO  [org.jboss.as.connector.subsystems.datasources] (MSC service thread 1-4) JBAS010400: Bound data source [java:jboss/datasources/ExampleDS]
11:49:09,474 INFO  [org.jboss.as] (Controller Boot Thread) JBAS015961: Http management interface listening on http://127.0.0.1:9990/management
11:49:09,475 INFO  [org.jboss.as] (Controller Boot Thread) JBAS015951: Admin console listening on http://127.0.0.1:9990
11:49:09,475 INFO  [org.jboss.as] (Controller Boot Thread) JBAS015874: WildFly 8.0.0.CR1 "WildFly" started in 10253ms - Started 184 of 232 services (78 services are lazy, passive or on-demand)
ログはもう一カ所 /usr/local/wildfly/standalone/log にもあります。こっちがメインっぽいです。
listenしているポートを確認してみます
$ netstat -an | grep LISTEN | grep tcp
tcp        0      0 127.0.0.1:9999              0.0.0.0:*                   LISTEN
tcp        0      0 127.0.0.1:8080              0.0.0.0:*                   LISTEN
tcp        0      0 0.0.0.0:22                  0.0.0.0:*                   LISTEN
tcp        0      0 127.0.0.1:25                0.0.0.0:*                   LISTEN
tcp        0      0 127.0.0.1:9990              0.0.0.0:*                   LISTEN
tcp        0      0 :::22                       :::*                        LISTEN
tcp        0      0 ::1:25                      :::*                        LISTEN
$
localhostしかlistenしてないのでこのままでいいかな。
WildFlyの管理ユーザを作ります
別に今すぐは使いませんが一応。
sudo -u wildfly /usr/local/wildfly/bin/add-user.sh [USERNAME] [PASSWORD]
Webの管理コンソールから設定状況を見てみます
手元の端末でトンネルを作ります
ssh [IP ADDRESS] -L 10080:localhost:80 -L 19990:localhost:9990
ここにアクセスするとトンネル経由でWebの管理コンソールにアクセス出来ます。ユーザ名とパスワードは先ほど入力した物を使います。
止めてみます
$ sudo service wildfly stop
Stopping wildfly:                                          [  OK  ]
$ ps -Af | grep java
kyle     25222 24452  0 11:58 pts/0    00:00:00 grep java
$
問題なさげ。一応リブートしてシャットダウンスクリプトと起動スクリプトが走るか確認しておくとベターかも。
PostgreSQLを入れる
インストール
<![CDATA[
sudo yum install http://yum.postgresql.org/9.2/redhat/rhel-6-x86_64/pgdg-centos92-9.2-6.noarch.rpm
sudo yum install postgresql92-server postgresql92-contrib
sudo service postgresql-9.2 initdb
sudo chkconfig postgresql-9.2 on
]]>
WildFlyから接続できるように認証方式を変更する
sudo -u postgres cp /var/lib/pgsql/9.2/data/pg_hba.conf /var/lib/pgsql/9.2/data/pg_hba.conf.bak
sudo -u postgres sed -i -e "s/^host    all             all             127.0.0.1\/32            ident/host    all             all             127.0.0.1\/32            md5/" /var/lib/pgsql/9.2/data/pg_hba.conf
動かしてみる
$ sudo service postgresql-9.2 start
Starting postgresql-9.2 service:                           [  OK  ]
$
Apacheを入れる
インストール
sudo yum install httpd
sudo chkconfig httpd on
動かしてみる
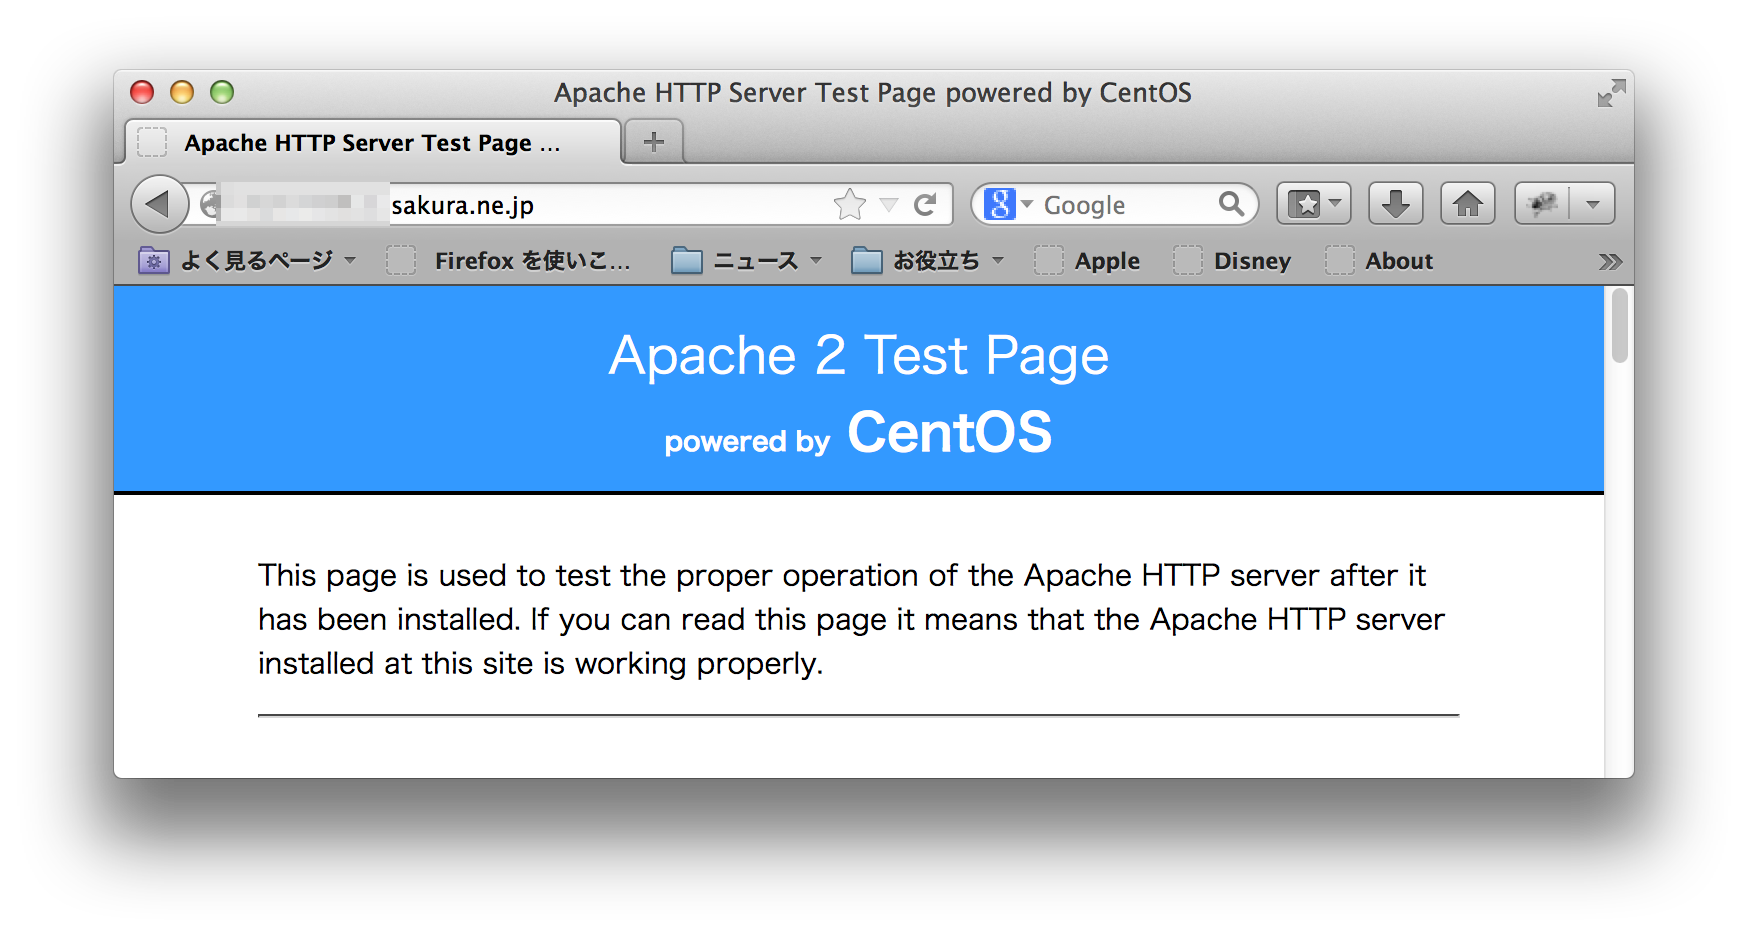
$ sudo service httpd start
Starting httpd:                                            [  OK  ]
$
アクセスしてみる
普通に手元の端末のブラウザからアクセス可。
参考文献
- tarを展開するときパーミッション、所有者を一定にする - きれいさっぱり、逝くぜ!
- Linux:Linuxのadduserコマンドで新規ユーザを作成する | raining
- How to add user without /home - Ask Ubuntu
- Script to install JBoss Wildfly 8.x as service in Linux
- sudoでリダイレクトをしたいとき - Yuta.Kikuchiの日記
- ぽちネット-Linux備忘録-Hints&Tips-自作サービスをchkconfigに登録する方法
- さくらのVPS を使いはじめる 4 – Apache のインストールと初期設定 | アカベコマイリ
- WildFly 8.0.0.Alpha4でOracle 11g XEのデータソースを追加する - kagamihogeの日記
- Admin Guide - WildFly 8 - Project Documentation Editor
- Javaのシステムプロパティの設定と文字エンコーディングについて改めて見直してみた - PiyoPiyoDucky
Tags: linux